Bahamut Imgur Uploader
This article is automatically translated by LLM, so the translation may be inaccurate or incomplete. If you find any mistake, please let me know.
You can find the original article here .
This is a simple Bahamut userscript that adds the functionality to upload to Imgur in the upload image dialog box.
Script URL: https://greasyfork.org/zh-TW/scripts/36735-baha-imgur-upload
Usage Instructions
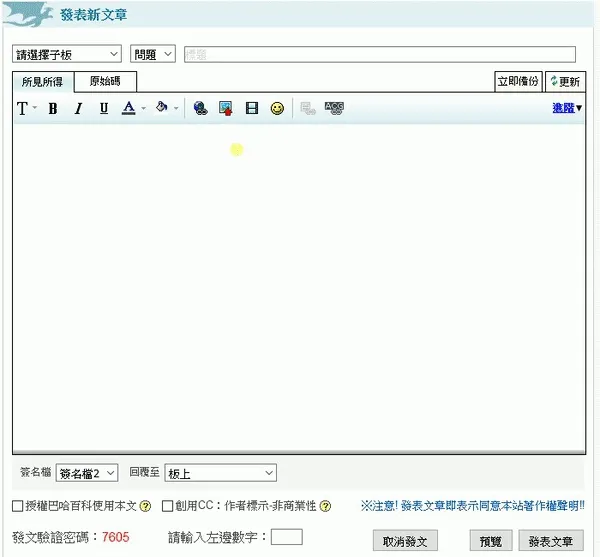
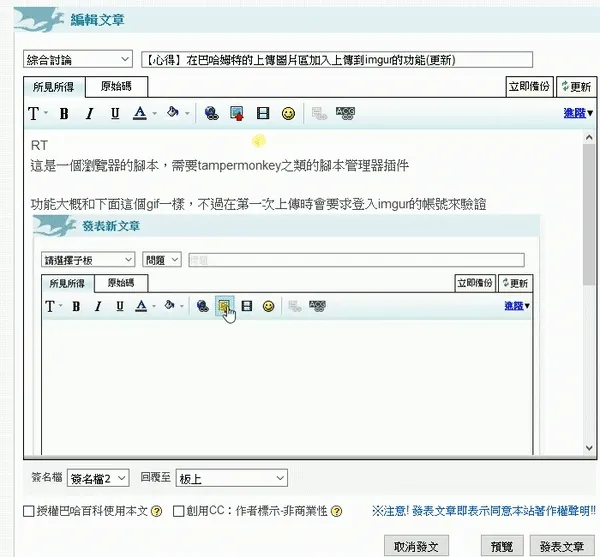
Actually, it's just the two GIF images below. However, the first time you use any of the functions below, a window will pop up asking you to log in to your Imgur account and verify.
Select an image from your computer to upload
Convert an external URL to an Imgur URL
Principle
Basically, the implementation principle of this script is that after the user logs in, it obtains the access_token and saves it. Then, when uploading, it uses this access_token to upload the image to the API server. The complete code can be viewed on Greasyfork.
The code below is version 0.5
Obtaining the access_token
Since Imgur requires a callback URL when registering an application, I directly placed it on the /bahamut-imgur-upload.html page and used JavaScript to extract the access_token from the URL.
URL format:
https://blog.maple3142.net/bahamut-imgur-upload.html#access_token=${access_token}&expires_in=aaa&token_type=bbb&refresh_token=ccc&account_username=ddd&account_id=eeeThe only important field here is the access_token. However, the query string is placed after the hashbang for some reason, so I used regex to extract the access_token and stored it in the script's storage space.
// @match        https://blog.maple3142.net/bahamut-imgur-upload.html
// blah blah blah....
if (location.hostname === 'blog.maple3142.net') {
	const access_token = /access_token=(.*?)&/.exec(location.hash)[1]
	if (access_token) {
		GM_setValue('access_token', access_token)
	}
}
Helpers
Upload
The upload part is written as a function that returns a Promise. The data part only contains an image because Imgur can determine whether the image is base64 or a URL by itself. The catch part is pre-written because the external error handling is just an alert and then closing the upload window.
function upload(image) {
	return $.ajax({
		type: 'POST',
		url: 'https://api.imgur.com/3/image',
		data: { image },
		headers: {
			Authorization: `Bearer ${GM_getValue('access_token')}`
		},
		dataType: 'json'
	}).catch(e => {
		console.error(e)
		alert('上傳失敗')
		egg.lightbox.close()
	})
}
Others
Here are three other simple helper functions.
function chk_isAuthorized() {
	//檢查有沒有access_token
	return GM_getValue('access_token', null) !== null
}
function login() {
	//觸發登入視窗
	window.open(
		'https://api.imgur.com/oauth2/authorize?client_id=41e93183c27ec0e&response_type=token',
		'oauth',
		'height=700,width=700'
	)
}
function readbase64(file) {
	//讀取檔案成為base64
	return new Promise((res, rej) => {
		const reader = new FileReader()
		reader.onload = e => res(e.target.result)
		reader.onerror = err => rej(err)
		reader.readAsDataURL(file)
	})
}
UI and Main Logic
The UI part is a bit more complicated because the upload box does not exist initially; it is generated using JS. Therefore, I used MutationObserver to monitor changes in the DOM.
const observer = new MutationObserver(_ => {
	const $origUpl = $('#bhImgModeUpload') //上傳圖片框
	if ($origUpl.css('display') === 'block') {
		//如果上傳圖片框存在
		//先跳過,這裡會新增一個 div#bahaimgur 元素
	} else {
		$('#bahaimgur').remove() //當不存在的時候就把 div#bahaimgur 移除掉
	}

	const $origUrlinput = $('#bhImgModeInsertUrl') //插入圖片網址的輸入框,這部分和上面很像
	if ($origUrlinput.css('display') === 'block') {
		//先跳過,這裡會新增一個 div#bahaimgur_cvt 元素
	} else {
		$('#bahaimgur_cvt').remove()
	}
})
observer.observe(document.body, { attributes: true, childList: true, characterData: true, subtree: true }) //在 <body> 上監聽
#bahaimgur
This is the content of the first if statement in the observer above.
if ($('#imgurupl').length) return //如果已經有了就不要再新增了,否則會無限迴圈
$origUpl.after(`
<div id="bahaimgur">
	<input type="file" accept="image/*" id="imgurupl">
	<button id="imguruplbtn">上傳imgur</button>
</div>
`) //插入元素
$('#imguruplbtn').on('click', e => {
	e.preventDefault()
	e.stopPropagation()
	if (!chk_isAuthorized()) {
		//如果還沒有登入就要求登入
		login()
		return
	}
	const file = $('#imgurupl')[0].files[0]
	if (!file) return //no file

	readbase64(file)
		.then(image => {
			//讀取檔案成 base64格式
			$('#bahaimgur').hide(),
				$('#bhImgMsg')
					.html('圖片上傳中, 請稍候...')
					.show(),
				$('#bhImgModeUpload').hide()
			return upload(image.split('base64,')[1]) //這邊要做split是因為readbase64給的字串是dataurl的形式,可是imgur api要的是純base64字串
		})
		.then(r => {
			if (!r.success) {
				alert('上傳失敗')
				egg.lightbox.close()
				return
			}
			//r.data.link 是照片的網址
			if (unsafeWindow.bahaRte != null) {
				//如果有所見即所得編輯器
				bahaRte.toolbar.insertUploadedImage(r.data.link)
			} else if ($('#balaTextId').length) {
				//如果是公會/叭啦叭啦頁面的回覆框旁邊的上傳圖片
				const id = $('#balaTextId').html() //取得輸入框的id
				const $tx = $('#' + id) //輸入框
				$tx.val($tx.val() + r.data.link) //append
				egg.lightbox.close()
			} else if ($('#msgtalk').length) {
				//如果是公會/叭啦叭啦頁面的新增欄位 (這一定要放在上面的if後面)
				egg.lightbox.close()
				const $msgtalk = $('#msgtalk')
				$msgtalk.val($msgtalk.val() + r.data.link) //append
			} else {
				//其他種類 ex:新版哈拉區文章底部的簡易編輯器
				prompt('暫時還不支援這種編輯器,不過可以複製下方的網址來貼上', r.data.link)
				$('#bhImgMsg').hide()
				$('#bhImgModeUpload').show()
				$('#bahaimgur').show()
			}
		})
})
#bahaimgur_cvt
This is somewhat similar to the above but simpler.
if ($('#bahaimgur_cvt').length) return
$('#bhImgImageUrl').after(`<button id="bahaimgur_cvt">轉換成imgur網址</button>`)

$('#bahaimgur_cvt').on('click', e => {
	e.preventDefault()

	if (!chk_isAuthorized()) {
		login()
		return
	}
	const url = $('#bhImgImageUrl').val() //取得輸入框內容
	if (!url) {
		alert('請輸入網址')
		return
	}
	$('#bhImgMsg')
		.html('圖片上傳中, 請稍候...')
		.show()
	upload(url).then(r => {
		//直接把原本的 url 作為 image 傳給 imgur api
		if (!r.success) {
			alert('上傳失敗')
			egg.lightbox.close()
			return
		}
		$('#bhImgImageUrl').val(r.data.link) //把原本的輸入框網址換成 imgur 回傳的 url
		$('#bhImgMsg').hide()
	})
})